Quick Start
Just got the asset? Newbie? Get started quickly.
Status and Prerequisites
First of all, make sure that the requirements are met.
Built-in
URP
HDRP
Windows
MacOS
Linux
WebGL
Unity 6
Unity 2023.x
Unity 2022.x
Unity 2021.3
Unity 2021.2 and below
Input System (New)
Input Manager (Old)
Import Dependencies
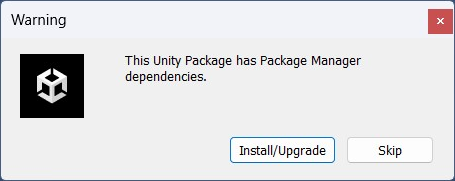
Heat UI requires the new input system package to be installed. You’ll receive a popup stating that the package has dependencies upon import, so you can just hit the ‘Install/Upgrade’ button to automatically import the dependencies.
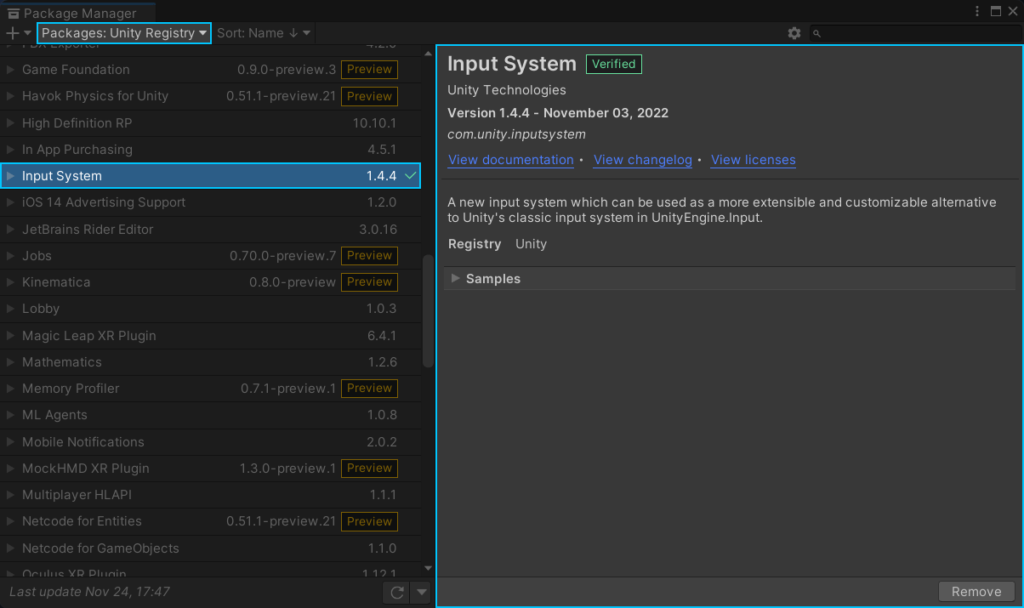
If you want to make this process manually, make sure to import the Input System package via Unity Package Manager. You must import v1.4.1 or higher.
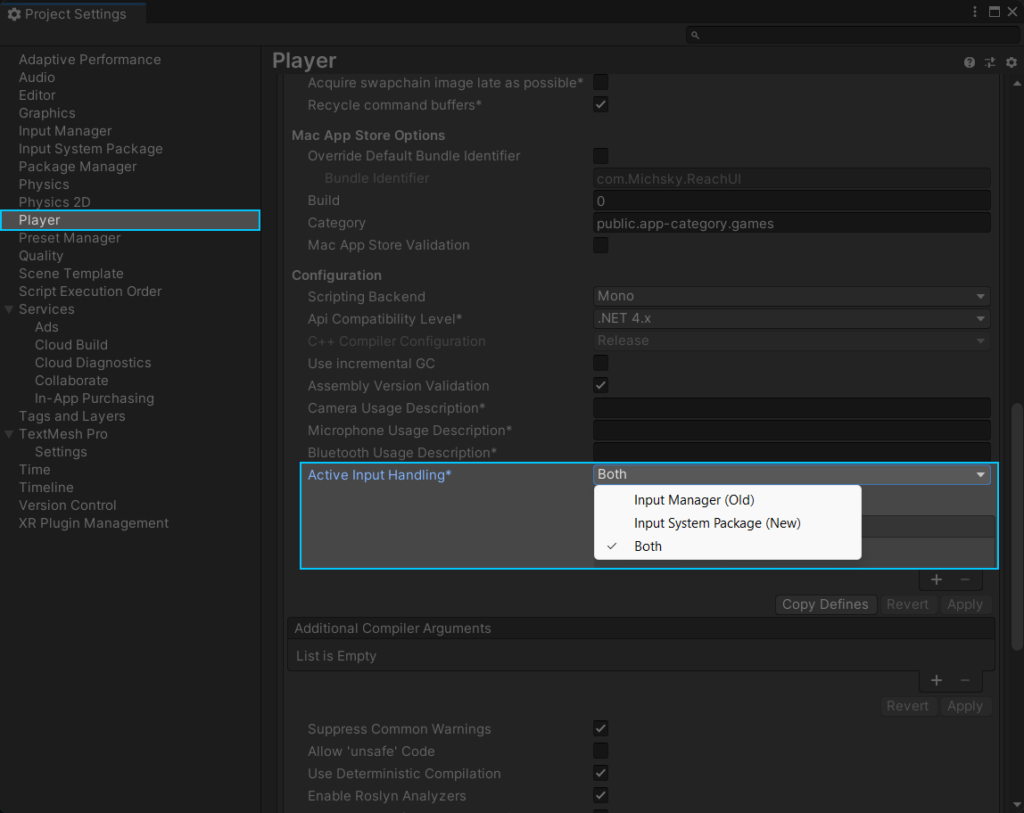
If there are no errors in the console, you’re good to go! However, if you’re getting input related errors, follow these steps:
- Navigate to Top Navigation Bar > Edit > Project Settings.
- Select the Player tab located on the left sidebar.
- Expand the Others section and scroll down until you see the Active Input Handling dropdown.
- Select ‘Input System Package’ or ‘Both’ as the preferred active input handling.
- If you’re using the legacy input manager, make sure to select the ‘Both’ option.
Color Space
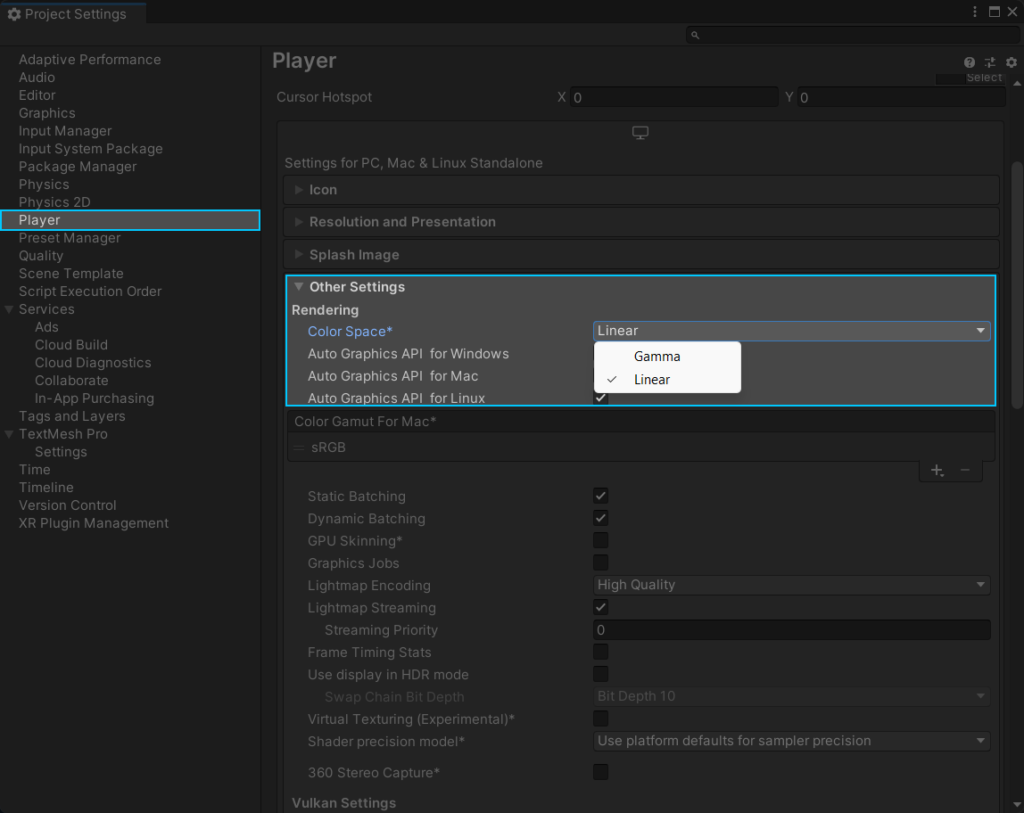
Heat UI is designed in linear color space. It is recommended to use the Linear color space to achieve the perfect color shading. You can use the gamma color space as well, but the results may differ compared to showcase visuals.
To change the preferred color space:
- Navigate to Top Navigation Bar > Edit > Project Settings.
- Select the Player tab located on the left sidebar.
- Expand the Others section.
- Set ‘Linear’ as the preferred color space.
Getting Started With Demo Scenes
Heat UI offers different demo scenes set to be used for different purposes. If you want to jumpstart or customize something already built, you can use the provided demo scenes.
Cross Platform is meant to be used in standalone platforms (such as Windows and MacOS), optimized for gamepad, keyboard and mouse inputs. If you need both gamepad and mouse/keyboard inputs and targeting standalone platforms, you can start with this scene.
Desktop is meant to be used in standalone platforms (such as Windows and MacOS), optimized for mouse and keyboard inputs. If you don’t need gamepad support and targeting standalone platforms, you can start with this scene.
Console is meant to be used in next gen consoles (such as Xbox and PlayStation), optimized for gamepad inputs. If you’re targeting console platforms, you can start with this scene.
Creating UI Elements
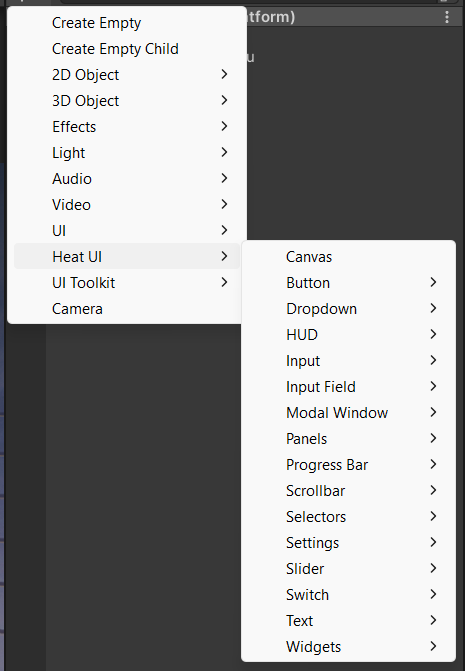
You can use the built-in create menu to create new elements made for Heat UI. You can also right-click to an object and use the same menu.
UI Manager
This handy tool allows you to customize your UI super easily. You can change colors, fonts, sound effects and much more in one place with just a single click.
Frequently Asked Questions
Many topics are covered in different parts of the documentation. If you have any questions (e.g. add a new panel), you can use the search bar at the top of this page. You can select a specific asset and view sections by keywords. If you can’t find an answer to your question, you can always contact us!
Tip: Hit the “/” key to focus on the search bar.
How can we help?
A premium WordPress theme with an integrated Knowledge Base,
providing 24/7 community-based support.
