
Quick Start
Just got the asset? Newbie? Get started quickly.
Status and Prerequisites
First of all, make sure that the requirements are met.
Built-in
URP
HDRP
Windows
MacOS
Linux
WebGL (limited)
Unity 6
Unity 2023.x
Unity 2022.x
Unity 2021.3
Unity 2021.2 and below
Input System (New)
Input Manager (Old)
Import Dependencies
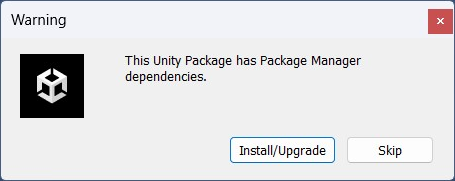
DreamOS requires the new input system and Newtonsoft Json packages to be installed. You’ll receive a popup stating that the package has dependencies upon import, so you can just hit the ‘Install/Upgrade’ button to automatically import the dependencies.
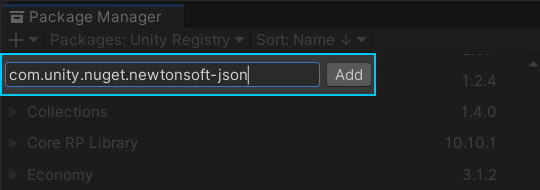
If you want to do this manually, you should open the ‘Package Manager’ window and import both ‘Newtonsoft Json’ and ‘Input System’ packages. First, open the Package Manager window using Top Navigation Bar > Window > Package Manager. Afterwards, hit the ‘+’ button and the ‘Add package from git URL’ button.

A text field will appear after clicking the button. You can type com.unity.nuget.newtonsoft-json and hit the ‘Add’ button – which should import the package. If you run into any errors doing this, your machine probably has an issue with importing git packages via UPM.
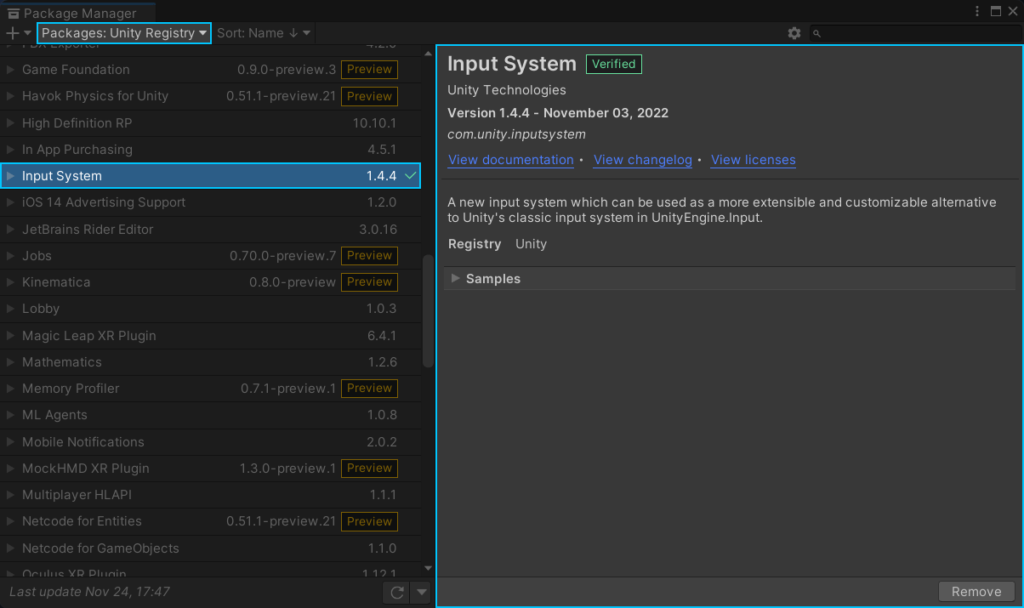
Lastly, make sure to import the Input System package via Unity Package Manager. You must import v1.4.1 or higher.
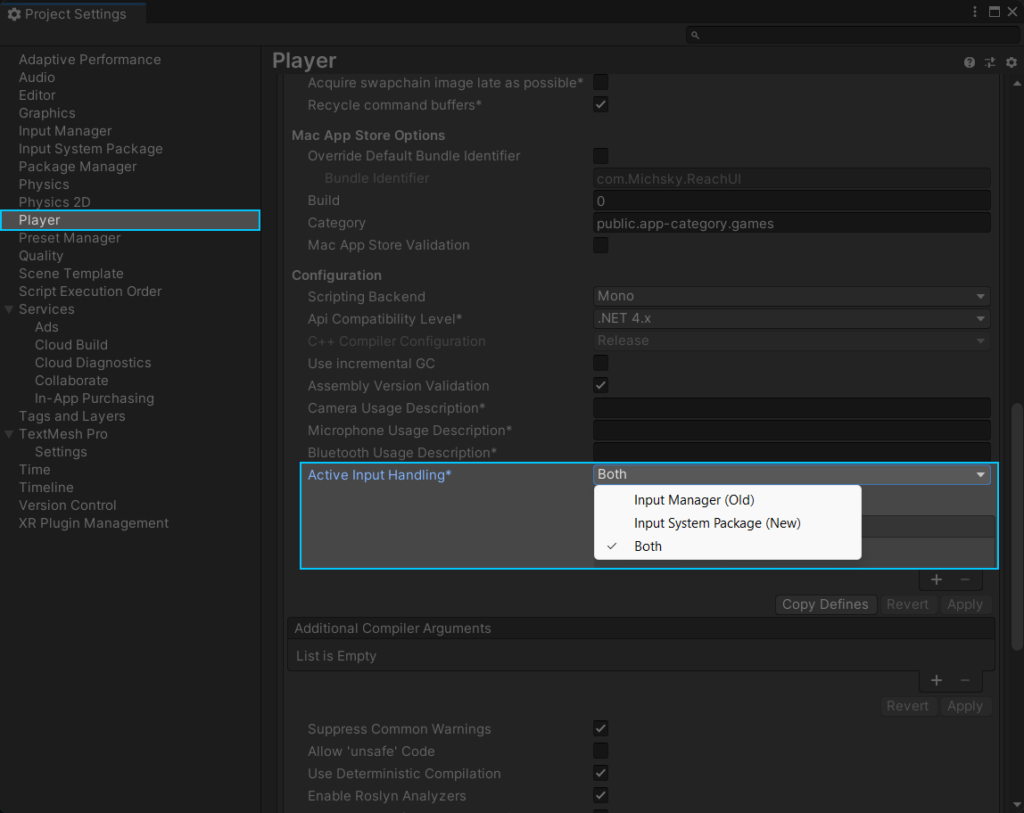
If there are no errors in the console, you’re good to go! However, if you’re getting input related errors, follow these steps:
- Navigate to Top Navigation Bar > Edit > Project Settings.
- Select the Player tab located on the left sidebar.
- Expand the Others section and scroll down until you see the Active Input Handling dropdown.
- Select ‘Input System Package’ or ‘Both’ as the preferred active input handling.
- If you’re using the legacy input manager, make sure to select the ‘Both’ option.
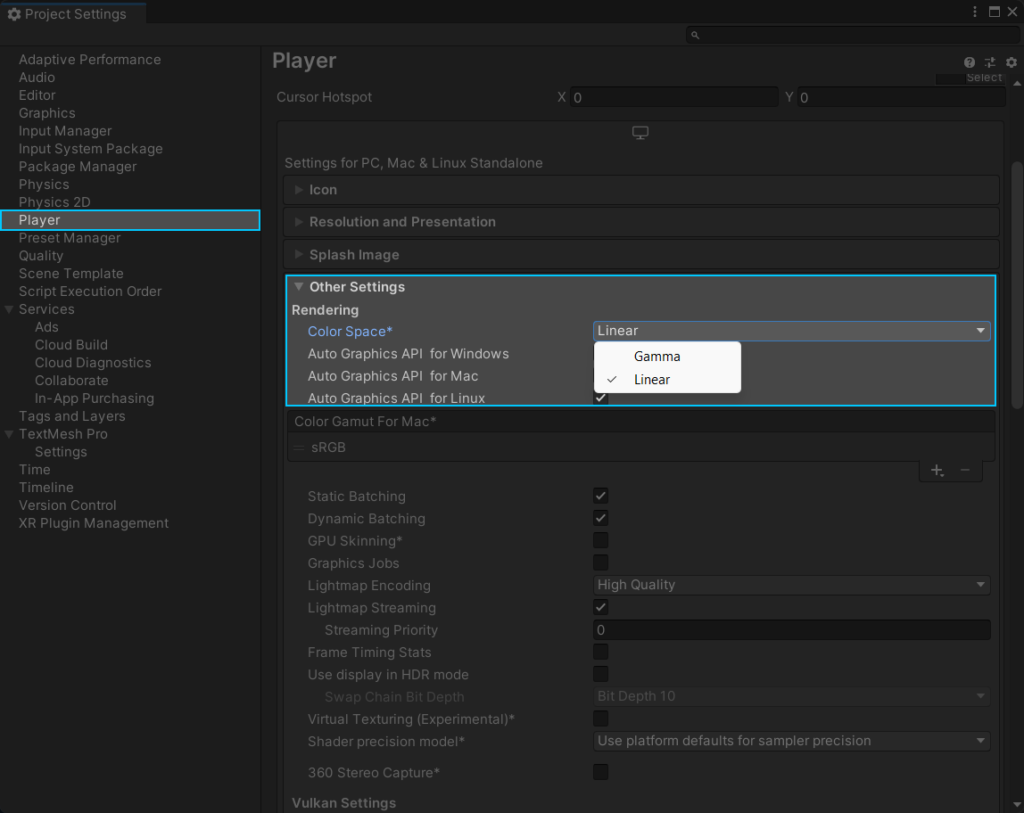
Color Space
DreamOS is designed in linear color space. It is recommended to use the Linear color space to achieve the perfect color shading. You can use the gamma color space as well, but the results may differ compared to showcase visuals.
To change the preferred color space:
- Navigate to Top Navigation Bar > Edit > Project Settings.
- Select the Player tab located on the left sidebar.
- Expand the Others section.
- Set ‘Linear’ as the preferred color space.
Getting Started
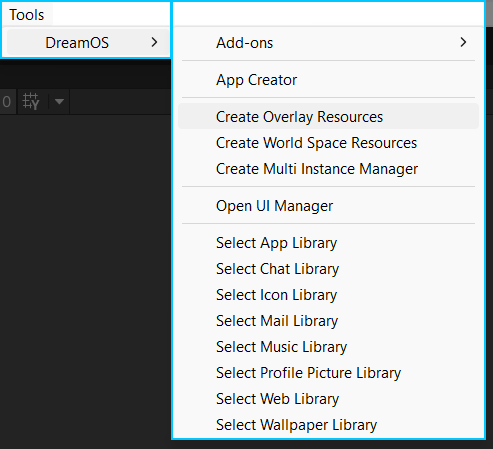
If you are not going to use the package in world space (2D), you can create the necessary resources using Tools > DreamOS > Create Overlay Resources. It’ll create everything you need and you can start working on it right away.
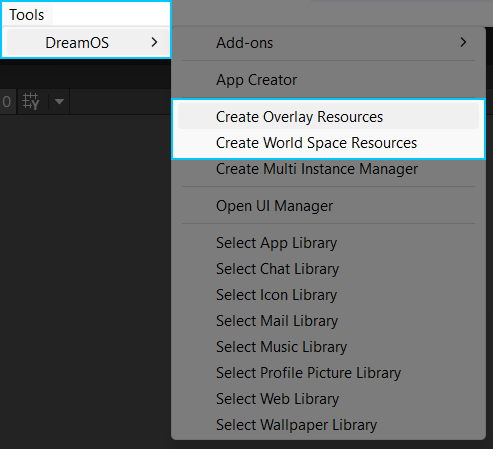
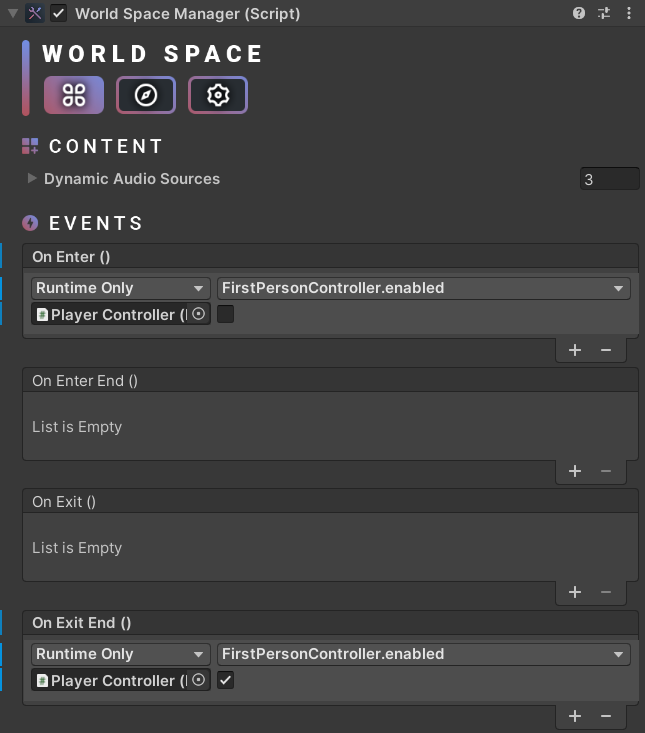
If you’re going to use the pack in world space (3D), you can create the necessary resources using Tools > DreamOS > Create World Space Resources. It’ll create everything you need for a world space scene. If you want to set your own character controller, make sure to select the World Space Resources > World Space Manager object and enable/disable your character controller based on your needs (e.g. disable OnEnter and enable OnExit).
You can manage lots of content using the Tools > DreamOS menu and managers. DreamOS is a modular package, so almost each app and system feature has its own manager which you can customize or tweak them as you wish.
It’s highly recommend using a cam stacking solution for HDRP. Otherwise, you’ll get terrible performance as HDRP doesn’t support multiple camera setup and DreamOS works with projector cameras. Here’s an easy to use solution: https://github.com/alelievr/HDRP-UI-Camera-Stacking
Here’s a step-by-step tutorial on how to use the package (based on v1.2.1):
- First of all, create a new layer. For instance, you can name it DreamOS.
- Select the DreamOS parent (World Space Resources or DreamOS Canvas) and assign the new layer (and hit ‘Change Children’ as well).
- Select the ‘Projector Camera’ object and add the ‘HD Camera UI’ component.
- Set the layer you created using the ‘UI Layer Mask’ parameter.
- Set ‘Target Camera’ to ‘Specific’ and assign the DreamOS projector camera.
UI Manager
This handy tool allows you to customize your UI super easily. You can change colors, fonts, sound effects and much more in one place with just a single click.
Frequently Asked Questions
Many topics are covered in different parts of the documentation. If you have any questions (e.g. create a new app), you can use the search bar at the top of this page. You can select a specific asset and view sections by keywords. If you can’t find an answer to your question, you can always contact us!
Tip: Hit the “/” key to focus on the search bar.
How can we help?
A premium WordPress theme with an integrated Knowledge Base,
providing 24/7 community-based support.